I have recently been faced with planting two large, burlap-wrapped trees, around which, there has been much discussion about planting techniques. It can be confusing to know what to do when you discover the roots are wrapped snugly in fabric.
Will they push through? Do you unwrap? And what of the soil that the burlap is holding in place? Will it all fall away, exposing a bare root?
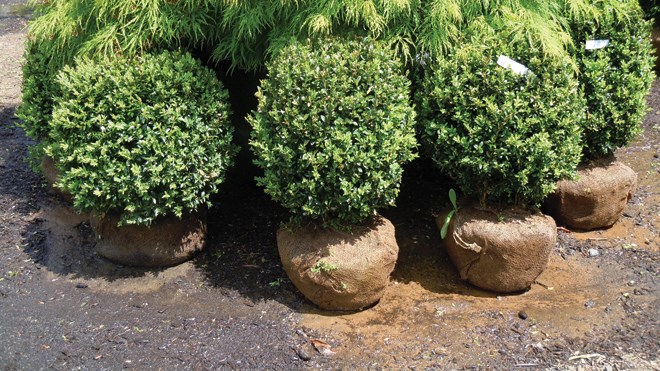
Balled and burlapped trees or shrubs tend to be mature and have been shipped this way to avoid damage to the roots. Traditionally, burlap—a natural fibre—would rot away in the hole over time, but new burlap fibres can be synthetic, and so should be cut or rolled away to allow the roots to grow freely.
The rest is simple: Consider first where your new addition will best thrive. Consider the future size of the tree and rest assured that it will indeed get there.
Once the spot has been chosen, dig a hole twice as large as the root ball. What you’re doing is loosening enough soil around it, so new, young roots can spread easily. I like to place the tree in the hole, root-ball intact and turn it until I’m satisfied I’ve found the best direction.
It’s worth noting that doing this job alone can be frustrating: jumping in and out of the hole to inspect the tree, jumping back down to make adjustments — best practice is to have a willing friend so you don’t wreck your knees.
It’s also worth noting soil depth. You do not want soil to be in contact with the trunk or the trunk flare (the place where the trunk meets the soil). This can cause rotting and damage the tree over time.
The soil in the bottom of the hole should be packed to avoid settling later. I also water the hole to encourage rooting. Once the tree is primed and ready to be planted, loosen the drawstring around the top of the burlap sack and either roll it down or cut it away.
Don’t worry about leaving any trapped underneath the roots — you’ve exposed enough of the roots for the tree to establish itself. The old soil should have been prepared with some manure, or other composted materials. This is what you’ll fill in around the roots.
I also like to throw in a few handfuls of mycorrhizae, a fungi that promotes water and nutrient uptake to the roots. (“Myke’s” products can be purchased from Southview Greenhouse Growers.) I add this directly to the hole, so that it is in contact with the roots.
Once the soil has been added, begin tamping it around the roots to release any trapped air. I like to leave a shallow impression that can collect and hold water, this way, you can be assured the water will remain around the roots, and not run off willy-nilly.
A good long drink to encourage deep roots is your ultimate step. You might next stake the tree to ensure straight and true growth. Remember to tie the hardwood stake with a flexible material so that it can move in the wind. I like to tie it off about midway up the trunk.
And now you wait and imagine how this tree will someday offer shady respite on a somnolent day. Or as Ralph Waldo Emerson aptly put it: “Adopt the pace of nature: her secret is patience.”
Gardener Anne Boulton takes you outside to expand your gardening knowledge or pick up a few helpful hints or ideas with In the Garden, Sudbury.com’s monthly gardening column. Anne is the owner of Greenboots Gardens, a landscaping company in Greater Sudbury. For a free estimate, call 705 507-6851 or email [email protected]. Visit her website GreenbootsGardens.ca for more information.